27 October, 2014

Halloween Inspired: Ghostly île Flottantes

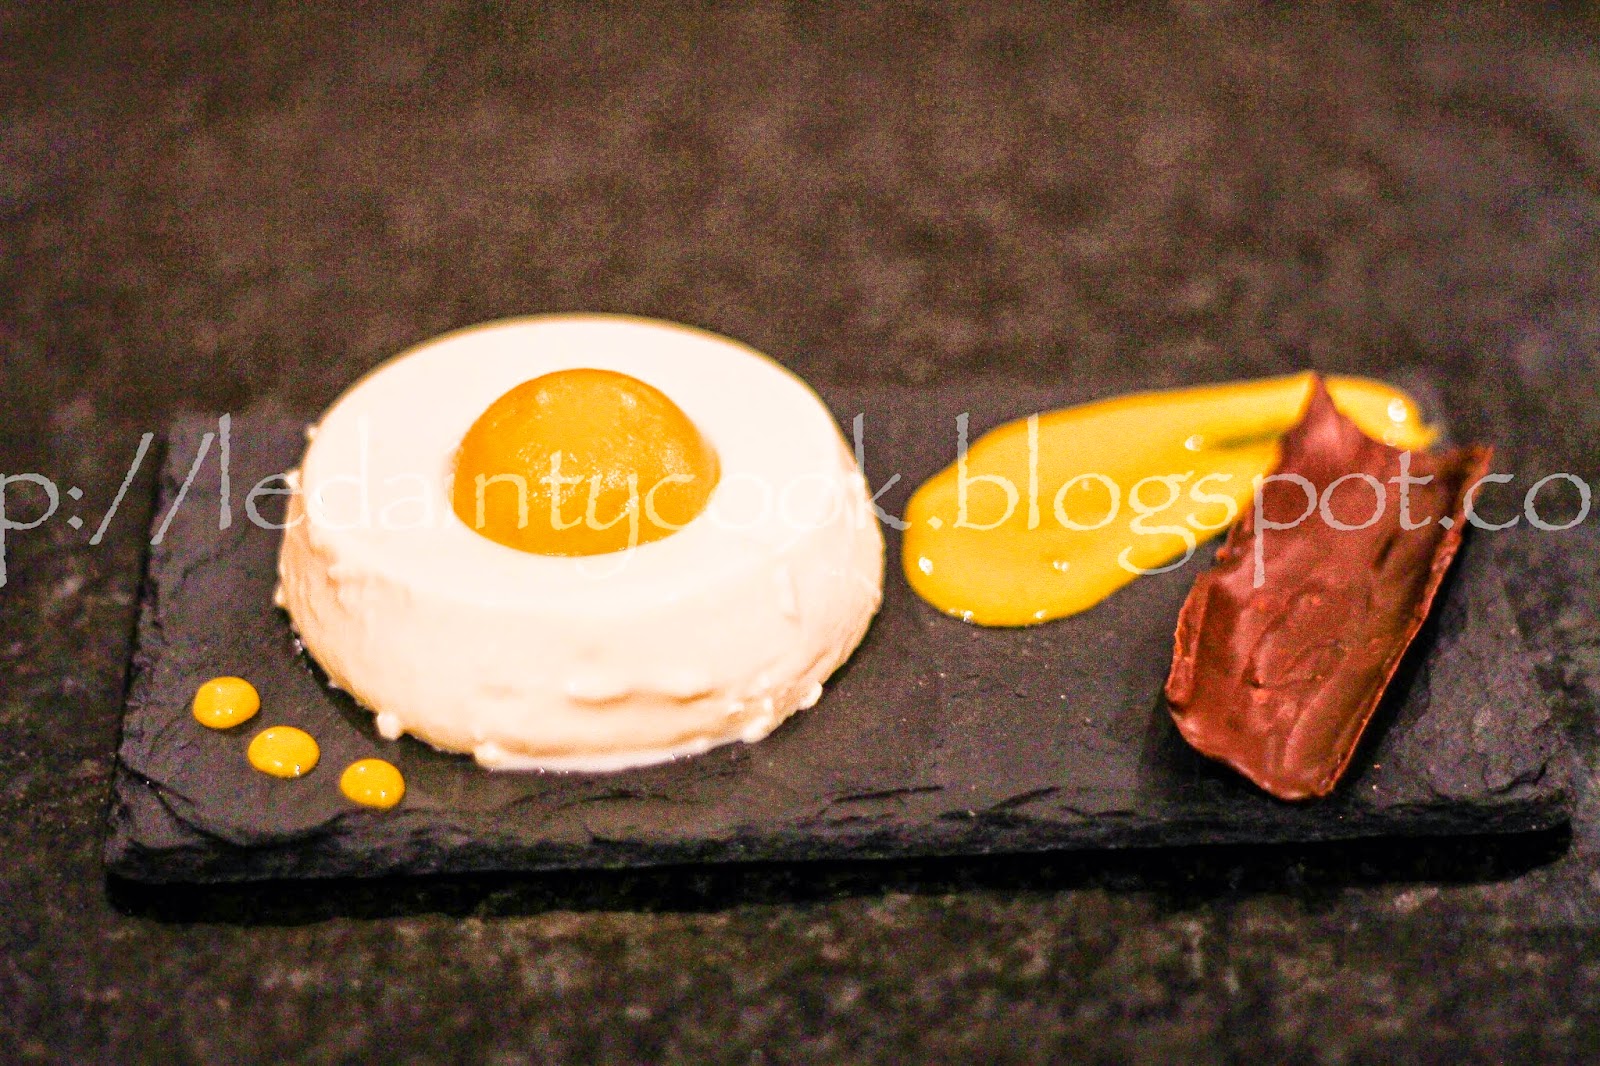
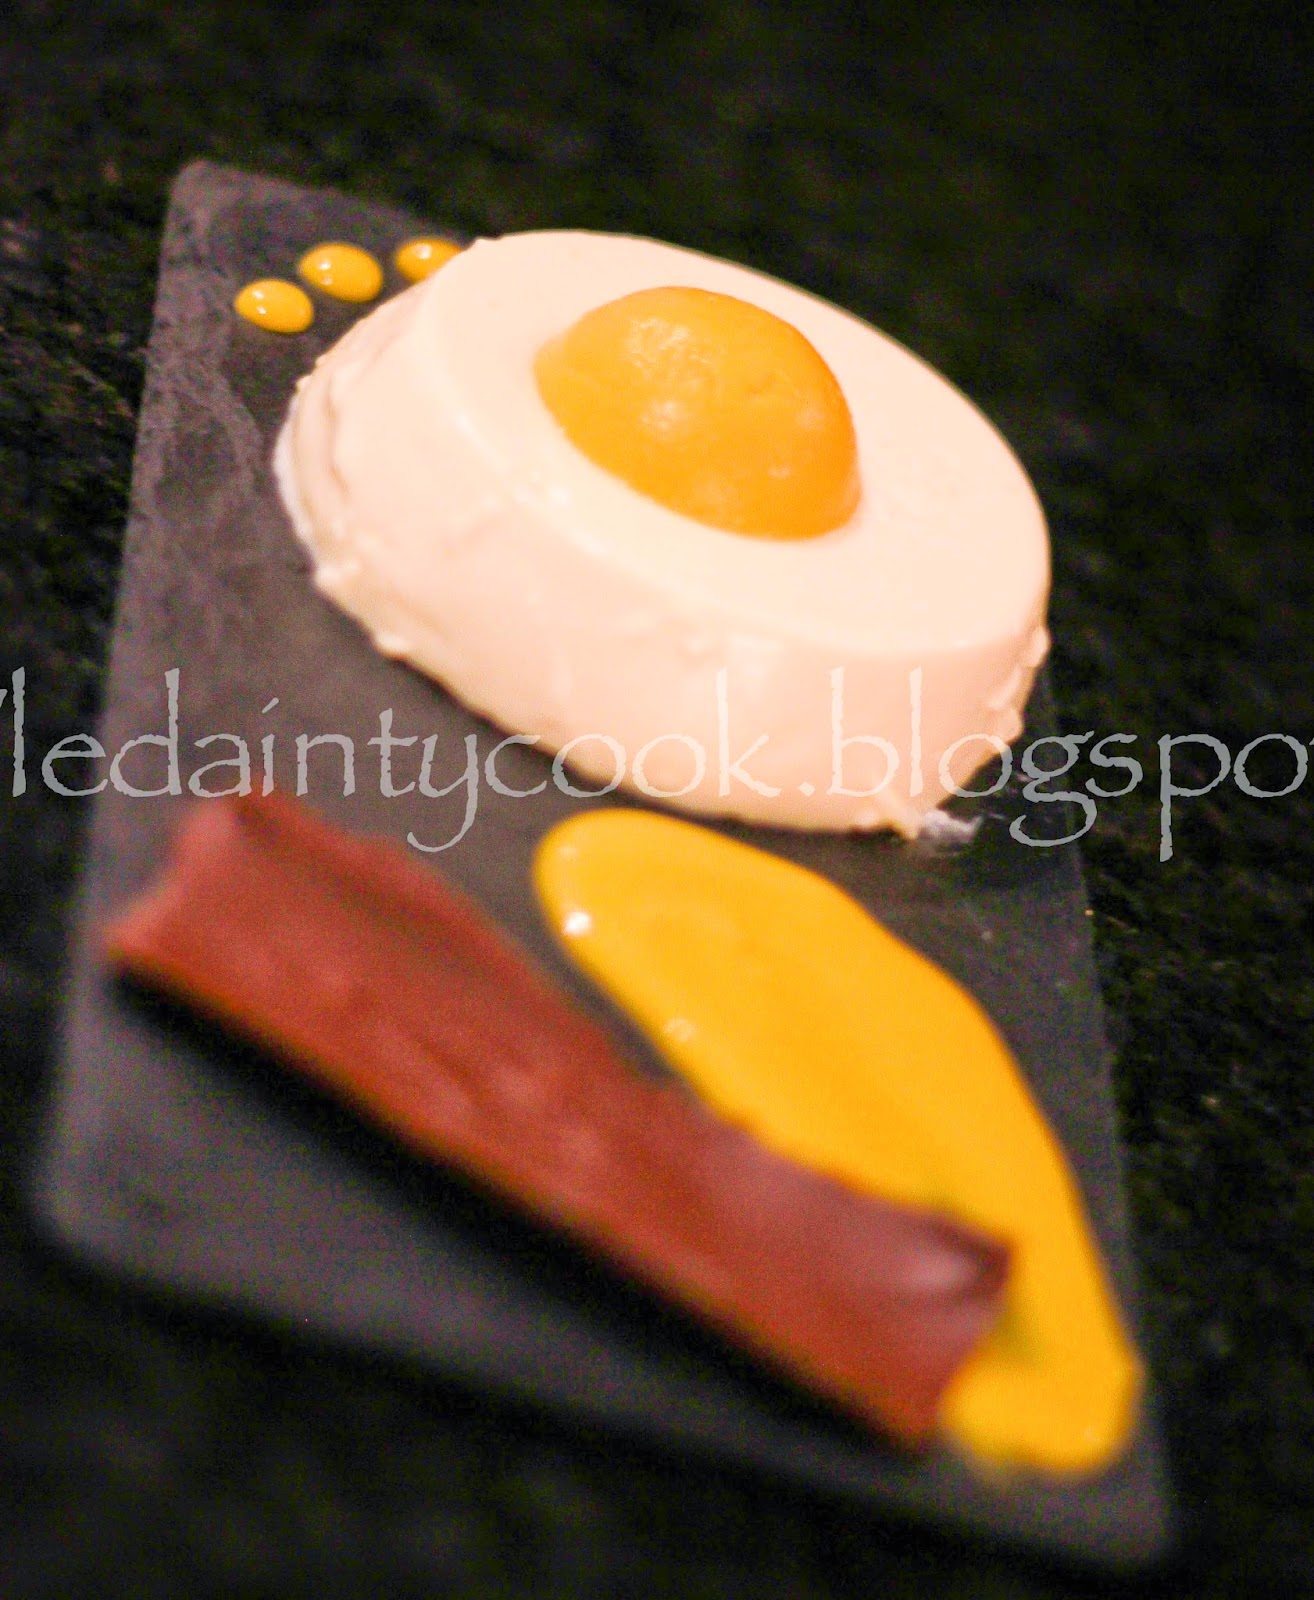
A floating poached egg white amongst a pond of creamy vanilla crème anglaise, topped with a crunchy caramel shard - decorated as a ghost of course.


This truly is a fancy dessert and really quite simple to make, with a pinch of patience. So why don't you try this out and stun your Halloween party guests with this ghostly version? It's cute, it's tasty and definitely fits in with a scary theme.

île flottante has been one of those desserts I've been wanting to make for a long while but just hadn't got round to it. Whilst wondering what I could make for halloween without using the usual ingredients, such as pumpkin, the thought of making spooky floating islands literally just popped into my head.

But what are île flottantes I hear you ask! Well, french for floating islands (I didn't just randomly mention islands earlier for no reason incase any of you were confused) is a very well composed dessert should I say. It's usually made up of three components, each of which emit complimentary textures with every mouthful you have. It's absolutely brilliant. You get the smooth cold creaminess from the crème anglaise and then this light, almost melting, meringuey, moussey, marshmallowy even, taste along with a satisfying crunchy caramel topping that I believe is vital to finish the dish off with. 

So you think you want to have a go? Let me tell you how it was made then!


Ingredients:
Crème Anglaise:
300ml milk
80ml double cream
3 drops of vanilla bean paste/1 tsp good quality vanilla extract
70g caster sugar
4 large egg yolks

For the meringue:
4 large egg whites
100g caster sugar
4 drops lemon juice

Caramel topping:
80g caster sugar

Poaching liquid:
500ml milk
500ml water
2 tablespoons sugar

Decoration:
Googley eyes/marshamallow
Black food colouring paste

Method:

  • For the crème anglaise, add the milk, cream and vanilla paste in a saucepan and let it simmer on medium heat for 3-4 minutes, do not let it boil.
  • Meanwhile in a mixing bowl, whisk together the egg yolks and sugar until it turns pale in colour.
  • Slowly pour in about two tablespoons of the hot milk mixture and whisk away. Keep adding the milk slowly while whisking away to incorporate the eggs and to avoid it turning into a scrambled omelette!
  • Put this back on the heat and stir continuously until the mixture thickens slightly and coats the back of the spoon. Do not leave the saucepan or the creme anglaise will split if not stirred and over heated!
  • Strain the mixture into a bowl using a sieve and leave to cool, then refrigerate. 
Poaching liquid:
  • Combine the milk and water in a large pan and add the sugar until it dissolves. Make sure the liquid doesn't boil as it will ruin the outcome of the meringues.

Meringues:
  • Whisk the egg whites in a clean bowl and add 3 drops of lemon juice.
  • Gradually add the sugar a tablespoon at a time and whisk until its thick and glossy and stiff peaks form.
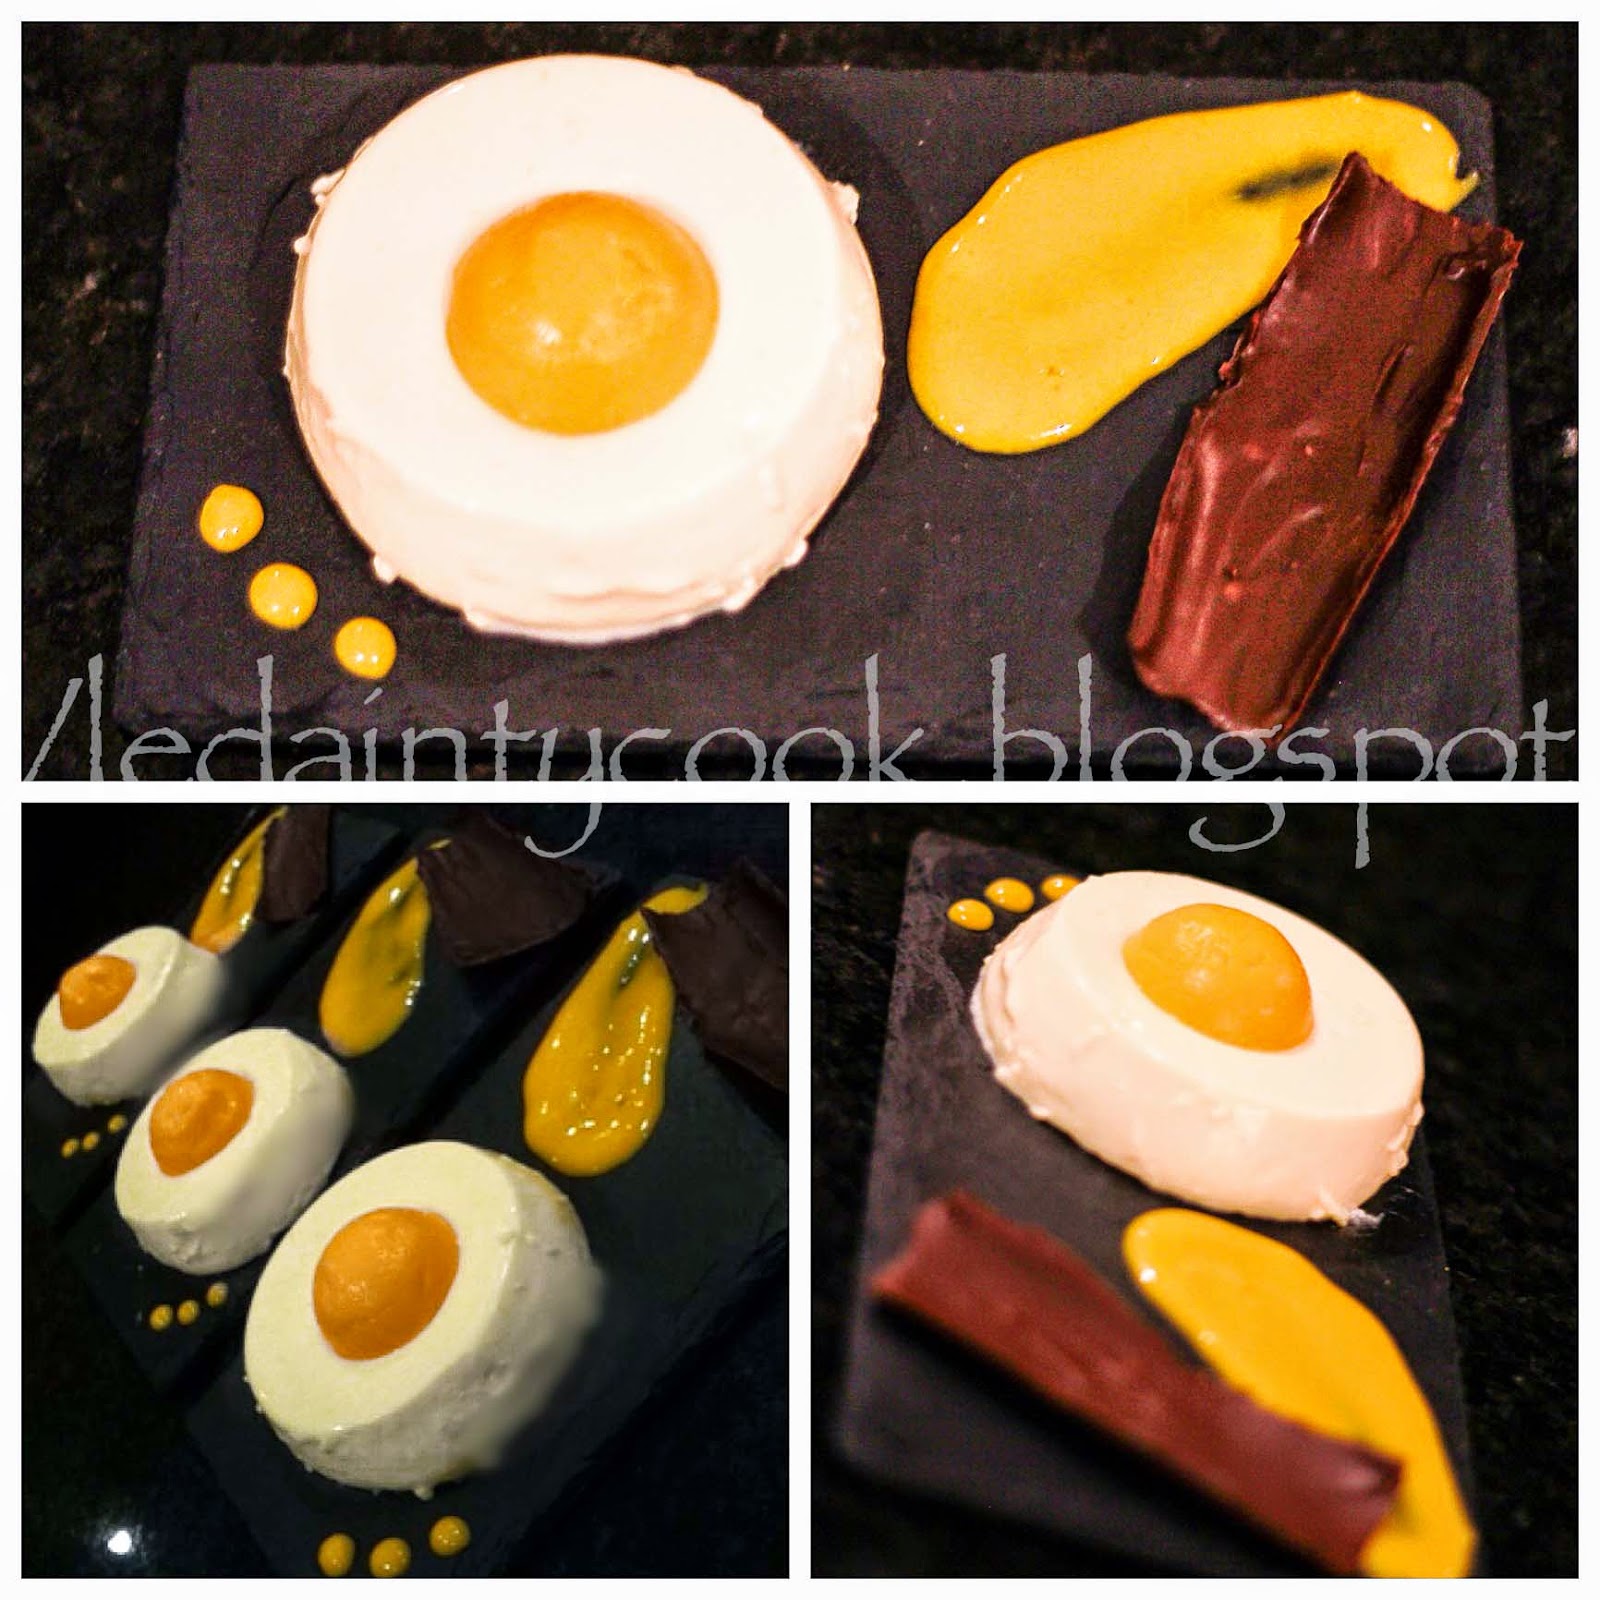
  • Using 2 large serving spoons, shape the egg whites in an oval shape. To add heigh and make them as 'ghosts' use a serving spoon and a spatula (or butter knife) and keep adding egg white at the top of the oval and smoothen it out with the spatula. I made mine quite big and were harder to poach because of the shape, but you can make your smaller.
  • Poach the whites for around 4-5 minutes until stiff and cooked and then turn them over for the same time. Any longer and they tend to collapse!
  • Remove them from the pan and place on some baking paper or a wire rack to drain them off.

Caramel:
  • Put the sugar in a saucepan and heat until melted and golden brown in colour. Be sure to keep an eye out so it doesn't burn.
  • Drizzle over a piece of baking paper and leave to set. 
To assemble:
  • Pour some creme anglaise into a bowl (i used spoon rests just to achieve a different look) and place the smaller flat side of the poached egg white on top. Add the googley eyes at the top - if you don't have these don't worry. Cut out two small circles from marshmallows and paint with black food colouring paste and leave to dry. Make sure they're dry or they will run onto your meringue! 
  • For the mouthes i used black food colouring paste and lighlt dabbed them onto the back of a palette knife and made a roundish mouth shape.
  • Peel off the caramel shards and add on top.


Your ghostly île flottantes are ready to be eaten now!

Any issues, feel free to drop me an email. Happy Halloween everyone :) 


Dainty Cook x


14 October, 2014

Rose and White Chocolate Ganache Macarons

Macaron shells filled with a light, white chocolate ganache and a hint of rose.
For the more sophisticated of taste buds.


I've got to tell you something. I'm not a lover of rose flavoured edibles. So I guess my taste buds aren't sophisticated as I thought! I don't hate it, but I don't love it either. If I could avoid it, I would. So why did I make these then!? My momma loves rose and white chocolate actually (tbh, I've found that many of the er, older generation tend to prefer these!) So I thought I'd make these ones for her :)
Okay so maybe they actually are for the more refined taste buds?

I just think they're pretty to look at and I love the colour.

I made the choco-lemon macarons for me though, it's all gravvy.

Ingredients:
118g ground almonds
118g icing powder
pink food colouring paste/gel/powder
41g and 70g egg whites (divided)
58g water
118g granulated sugar

Filling:
2 tbsp rose water/flavouring
200g white chocolate
200g double cream
pink food colouring paste/gel/powder

Method:

  • Sift the ground almonds and icing sugar together in a bowl and combine.
  • Place them in a food processor and process until fine and combined.
  • Sift again in a medium bowl.
  • Make a well in the centre and add the 41g of egg whites then mix thoroughly until well combined and you've end up with a thick paste or 'gloop' as I like to say. (I like words with double o's okay, I don't even know why.)
  • In the mean time, place the sugar and water in a saucepan with a 'candy' thermometer and switch the heat on. When it gets to 200 degrees Farenheit, start whisking your egg whites slowly with a pinch of sugar up until the temp reaches around 245 degrees Farenheit.
  • Quickly whisk in the sugar mixture and continue whisking the eggs until thick and glossy. If you want to add colour then this is the time. After or just before pouring the sugar mix, add the yellow food colouring gel. It lightens so add a tad more than you'd like it to be.
  • Fold in the egg whites into the almond gloop a couple of times. *Do the macaron-a* (I hope one of you laughed at that.)
  • Then add the rest of the egg whites slowly and fold a couple of times until combined. I don't count my fold, but you want the texture to be thick and ribbon like, if you overmix, the mixture will turn flat and super runny, you definitely do not want that! Also mix too much and it may end up with a slightly chewy texture. The texture should be soft on the inside and hard out the outside (like a man!) Remember?
  • Pipe small rounds onto baking paper on a tray or a silpat mat or moulds and let it ret until a thick skin forms. Around 30 mins to an hour.
  • Preheat the oven (I do this now guys!) to 147 degrees C. I use an electric fan oven so add 20 degrees if you're using a traditional gas one. Place in the middle of the oven one sheet at time and bake for 15 minutes - mine take 25 - never know why. Just keep checking after 15 mins.
  • Let them cool and voila!
Filling:

  • Melt the white chocolate in a double boiler/water bath just until half melted.
  • Heat the cream until warm and add to the half melted chocolate.
  • Very quickly stir the two together until the white chocolate thickens and both are combined. If they don't combine, put it back on the double boiler for a minute or 2, the mixture will become runny, but will set later (takes longer though!)
  • Add in your rose flavouring/water to your preference. I only added a teeny bit because, even though they weren't for me, I didn't want them to emit a strong rose flavour, which they should do!
  • Next, stir in a drop or two of pink food colouring and stir.
  • Let it set in the fridge for a few hours or over night. The longer the better, I was impatient and found it hard to pipe my shells as white chocolate ganache takes longer to set.


Sit back relax, have an apple martini and enjoy these macarons!

Any help, I'm a message away :)


Dainty Cook x

13 October, 2014

Choco-lemon Macarons

Sunshine yellow macaron shells, filled with a decadent lemon curd and semi-dark chocolate ganache.

Sunshine in me belly!


The first time I went to L'adurée was a long while ago with my cousin. Out at a day in London, we stopped by the café for some afternoon tea. A step inside and I felt like a kid in a candy store, such a pretty little sight! They had a vast array of flavours and many other sweet items on display.
I wanted to eat, yet also bake everything I had witnessed there.

As we finally sat down, I ordered about 4-5 macarons with my vanilla tea. I know I know, fatty I hear you cry! But if you've been there, you know how hard it is to simply choose the one or two. And they had - at the time -  limited edition ones, or was it specialities? I can't remember. All I remember was that the one that made my stomach summersault was the lemon and chocolate macaron. To die for. 

If you think about it, the two flavours are so repelling as individuals. Lemon and chocolate? Ergh - that's probably what you're thinking right!? You've just got to try it to understand where I'm coming from. Together they become something else. And since then, it has become one of my best chocolate combos. It's magical.

I was testing out a smaller batch than my usual step-by-step recipe:  which actually takes a tad more egg whites when halved. It's all about playing around and seeing what's best for you that works. 

Here's how I made it!

Ingredients:
118g ground almonds
118g icing sugar
yellow food colouring paste/gel/powder
41g egg whites and 65g egg whites (divided)
58g water
118g granulated sugar

Filling:
Lemon curd
200g 53% dark chocolate (I used Callebaut)
100g double cream
2 tbsp butter
pinch of salt

Method: 
The first bit is probably the most tedious, but it has to be done to ensure a nice smooth macaron!
  • Sift the ground almonds and icing sugar together in a bowl and combine.
  • Place them in a food processor and process until fine and combined.
  • Sift again in a medium bowl.
  • Make a well in the centre and add the 41g of egg whites then mix thoroughly until well combined and you've end up with a thick paste or 'gloop' as I like to say. (I like words with double o's okay, I don't even know why.)
  • In the mean time, place the sugar and water in a saucepan with a 'candy' thermometer and switch the heat on. When it gets to 200 degrees Farenheit, start whisking your egg whites slowly with a pinch of sugar up until the temp reaches around 245 degree Farenheit.
  • Quickly whisk in the sugar mixture and continue whisking the eggs until thick and glossy. If you want to add colour then this is the time. After or just before pouring the sugar mix, add the yellow food colouring gel. It lightens so add a tad more than you'd like it to be.
  • Fold in the egg whites into the almond gloop a couple of times. *Do the macaron-a* (I hope one of you laughed at that.)
  • Then add the rest of the egg whites slowly and fold a couple of times until combined. I don't count my fold but you want the texture to be thick and ribbon like, if you overmix, the mixture will turn flat and super runny which is what you definitely do not want! Also mix too much and it may end up with a slightly chewy texture. Soft on the inside and hard out the outside (like a man!) Remember?
  • Pipe small rounds onto baking paper on a tray or a silpat mat or moulds and let it ret until a thick skin forms. Around 30 mins.
  • Preheat the oven (I do this now guys!) to 147 degrees C. I use an electric fan oven so add 20 degrees if you're using a traditional gas one. Place in the middle of the oven one sheet at time and bake for 15 minutes - mine take 25 - never know why. Just keep checking after 15 mins.
  • Let them cool and voila!

For the Filling:
To be honest, I made this lemon curd beforehand for a cake and I can't remember precisely how I made it (sorry), I will post the recipe once I find it - it was from a YouTube vid! Meanwhile, I suggest you get a good jar full from your local deli, the fresh good quality stuff is always best.
  • To make the ganache, heat the cream and butter in a saucepan until hot and add to chopped chocolate in a bowl, do not stir.
  • Once you see the chocolate melting, add the salt and gradually stir quickly until well combined.Let it cool and add 4tbsp of lemon curd and mix. Add as much as you like to get the right lemony flavour, this part is all about preference.

And there you go! Make sure you try this flavour out, it's just so tantalising to the tongue.

Any issues, feel free to ask. :)


Dainty Cook x


04 August, 2014

Giving for Gaza: The Mass Macaron Make

Deeply touched by the news, I couldn't sit idly while fellow innocents were being killed.

I've given to charity and aided with fundraising before, but this time I wanted to do more as an individual. To give more to the Palestinians. Without any prevalent source of income however, (excluding student loans and bank of mum and dad!) I felt that utilising my baking skills to singlehandedly raise money would help me achieve this.


After all, food is a universal language.

The Palestine-Israel conflict; we've all heard about it on the news and read about it in the papers, it's not easy to ignore. The majority of us have been effected by the horrific images plastered all over the internet of harmless children laying on the bombed remains of Gaza: unworthy of being labelled as their deathbed. Most of us feel for the victims of Israel's rockets, the innocent civilians who live every moment in caution.

Indeed, there are other wars going on, others in dire need. But when you hear of this war, when you specifically see an image of a group of Israelis gathered to cheer the bombings in Gaza - composed against an image of an injured child clutching onto a paramedic, desperately crying for it's father, you know something needs to be done, pronto.

My reason for this post is to primarily share a brief experience of this fundraiser. I'm not aiming to discuss who's side I'm on, who's right and wrong in this post, but the journalist in me, the heart in me that has emotions, the heart that is human - as obvious as I have made it - would fervently defend the Palestinians if I were to write a coherent article or even an opinion piece about the ongoing conflict.

You've only got to be human to know that what's going on in Gaza right now is simply, well...inhumane

And so, came the challenge: making macarons in mass.

I decided on making macarons because they're not widely available in my city, thus believed they would be popular. It also meant that I'd be able to customise the packaging. I really enjoyed adding dainty little ribbons and colourful tissue paper, you know, just giving it that personal touch. It was actually quite exciting for me (sad I know).

Where do I even start with these babies though? If anyone has read my post: Temperamental Twats: The Macaron, or has attempted to make them themselves, you'd know exactly how difficult they can be. Macarons require time, effort and a certain level of patience to produce. The most I had previously made was for my sibling's henna-do. Let's just say, post-do I was renamed the "macaron monster." 

I went a little bit mental and vowed, never again.

I knew my insanity would reach to a higher level this time round. Perfectionist problems! And I was somewhat correct.

This time, I think it was mainly tiredness from fasting, being in the kitchen baking for other occasions and incorrect calculations of ingredients that made it all the more strenuous. It made me realise how poor I am at math (there's a reason why I study English) and I might have overestimated how many I'd make per day, discounting failed batches.

As exciting as it was, it was daunting too. I had a batch that cracked, a batch that took forever to cook, as prior to this, I had 3 test runs which were all perfect! Usually when baking on the whim, my goods turns out fine, but in mass these just weren't meeting my normal standards. What if no one liked them? I had many worries, but I reminded myself that people would acknowledge that their money wouldn't have gone to waste, helping me get back in the groove.


I managed to make roughly 600 shells in three different flavours! Raspberry cheesecake, salted caramel with semi dark chocolate and white chocolate ganache with coconut. I just felt that these were 'universal' flavours, giving slightly more than your average stand-alone filling, whilst suiting a range of taste buds.

I'm glad many enjoyed their assorted boxes and expressed their favourite flavours! Those of you reading this who bought my macarons, helped me to spread the word or gave me advice, thank you so much - I cannot express that enough!


Ultimately, my motive for blogging this particular experience is to share what I learnt. Initially, I didn't think I would learn anything, (apart from that I often have a tendency to go mental.) But I learnt a lot. Especially personal 'realisations':

- I learnt that if I put my mind to something and believe in myself, I CAN do it.
- I learnt how lucky I am to have a roof over my head, to have food on my plate, to be able to walk out of my house without any anxieties of being bombed.
- I learnt that raising money to give to those who are in urgent need of it - to help and give to others - brings on this, I can't explain, this inner sense of happiness. This specific instance gave me a lot of that - just knowing that you've possibly made a huge difference to someone's life. Or saved one even.

Personally, the fact that I organised the fundraiser by myself was a great achievement alone.

I (potentially) helped a Palestinian and that in itself couldn't give me more internal peace than I have needed to experience in a long while.


Dainty Cook x


10 July, 2014

The PannEgg (Easter inspired)


A vanilla panna cotta with a mango jelly bulb, mango gel sauce and a chocolate ganache shard, or soldier in this case.
 N-to-the-ommy!


Is it an egg? Is it a spoon? (I don't know about that one, k) No, why it's panna cotta of course.

As you can see this is a slightly late post, but hey, have a go next easter, or whenever really. It can really puzzle your friends!

I'd grown slightly tired of the chocolate eggs you get everywhere. I mean, let's face it, chocolate alone, is NOT dessert. It can be part of one, certainly, but I was on my tippy toes to make a sweet dish that resembled an egg and not entirely made of chocolate.
 Thus: the Pann-Egg was laid.


See what I did there?!
Let me just tell you how I made it ...

Ingredients:

Vanilla Panna cotta:
600ml double cream
160ml full fat milk
4tsp (halal) gelatine powder
180g caster sugar
4tsp vanilla extract

Mango jelly bulb:
250ml alphonso mango purée
1&1/2tsp gelatine powder
3 tbsps double cream

Chocolate ganache shard:
75g dark chocolate
25ml double cream

Method:
For the panna cotta:
Dissolve the gelatine powder into 125ml of hot water and stir quickly.
Combine the cream, milk, vanilla extract and sugar into a saucepan and bring to the boil, then reduce the heat.
Stir in the gelatine mixture and turn off the heat.
Pour the mixture into small ramekins or moulds, leave to cool then whack 'em all the fridge so that they set. It usually takes 4 hours and more to set properly.
To serve, dip the ramekin into hot water, slide the sides out with a knife and turn upside down onto a plate.

Mango bulbs:
For these I used the lids of the cake pop moulds to form the bulb.
Dissolve 1 - 1&1/2 tsps of gelatine powder into 60ml of hot water.
Mix the gelatine and puree together and then take out some tablespoons of the puree and set aside.
With the remaining mixture, add roughly 3 tablespoons of double cream and stir. Pour this into the cake pop moulds and refrigerate!
Onnce set (it will still be wobbly/soft so you need to use a spoon to scoop the bulbs out) plonk them on top of the panna cotta to form an egg!

Chocolate soldiers:
Cut out rectangles (7x3cm) of greaseproof paper.
Melt the chocolate, add in the cream and stir.
Paint the greaseproof paper with the ganache and leave to set in the fridge until firm. Once they're done all you do is peel them off carefully.


To serve, place it on plate with the panna cotta, use the remaining puree that was set a side as the sauce and ba boom. You've got you're a nice plate of a PanEgg.


It's amazing. No yolk ;)


Dainty Cook x


01 July, 2014

Mushroom 'Mould' Cake.


A dense dark chocolate truffle cake, filled with chocolate cream and ruby-red raspberries, you would have to be a right fool to not eat this peculiar beauty. 


Yes, you read that correctly. I have indeed posted a recipe stating how to make a 'mouldy' mushroom CAKE. This cake has definitely gone off the radar (ha, see what I did there - gone off - did you get it? You got it right?!) for simultaneously pertaining to be 'disgusting', indulgent and über cool. It takes vintage to it's literal meaning.

For me, this was a spontaneous sculpture that I was itching to do. If any of you know me, I have many cravings each hour/day/week. A friend of mine uttered the phrase 'chocolate cake' and there it was, BAM, fixed in my mind, transforming me into a beast until I appeased my appetite. So, I popped down to my local Sainsbury's, bought the ingredients and was ready to bake.

But there was una problema..

I did NOT want to bake a standard chocolate cake. Incase you've guessed already, I'm a huge fan of raspberries and chocolate. When they both marry together, they produce offspring in your mouth, bursting out full of this awesome indescribable flavour. So gooood. Anyway, weird and slightly poor analogy aside; I was as per, grown tedious of making the same old chocolate buttercream cake, topped with berries, coated with cigarellos - yawn - boringgg.

And then, I was truly inspired. I witnessed a photo: a page from Lily Vanilli's book which had meringue shaped mushrooms. *Light bulb moment*


Next thing I know, this ensemble was assembled.


Ingredients:

200g softened butter
200g caster sugar
200g self-raising flour
50g cocoa powder
4 medium eggs
Pinch of salt
Milk to loosen (optional)

Method:

  • Preheat the oven to 180 degrees C.
  • Combine the butter and sugar until pale and fluffy, usually this takes 5-7 mins. 
  • Add the eggs one at a time until well-combined.
  • Sift in the flour cocoa powder and add the salt.
  • Beat together until it forms a smoooooth mixture.
  • Dash in a tablespoon or two of milk if the mixture is super thick.
  • Dollop the mix in either two 8 inch sandwich pans or an 8 inch cake tin and bake for around 30 minutes.
  • Once baked let it cool on a wire wrack and place on a 12 inch cake board, ready to be filled and glazed.

The Filling:

150g dark chocolate (chopped)
25g unsalted butter
250ml double cream
Pinch of salt 
300g Raspberries

  • Place the butter and chocolate in a bowl.
  • Heat the cream until hot and pour into the chocolate, stirring it together until it melts and is well combined.
  • Once cooled, fill the top of one layer with this and top evenly with fresh raspberries, placing the other layer on top.

The Truffle Glaze:

250g dark chocolate
15g unsalted butter
200ml double cream
Cocoa powder to dust

  • Follow the same steps as with the filling.
  • Spoon the glaze over the whole cake and let it set - but not completely.
  • Dust the whole cake with cocoa powder so that it looks like soil.
  • Decorate with the meringue mushrooms, by sticking them into the cake and also around: make it look like its going off and growing mushroom mould! You can even break pieces off of the cake so that they look like rocks.

The Meringue Mushrooms:

5 egg whites
1 tsp lemon juice
Pinch of salt
230g caster sugar
30g cocoa powder
100g chocolate

  • Add lemon juice and salt to the get whites and whip until soft peaks are formed. Beat in the sugar slowly, a few tablespoons at a time, continuing until they get all stiff. Half the egg white mix, spooning the other half into another bowl. Fold in two-thirds of the cocoa powder in one half and the remaining in the other.
  • Fill a piping bag with the beaten egg whites and using a round top, pipe mushroom stems - making sure they are long and wide enough to be stable.
  • Pipe the same number of domes - these will be the tops of the shroomies!
  • Bake them for about an hour and leave them in the oven so that they dry - another hour or so for this I'd say.
  • To attach the tops to the stems, melt the chocolate and use this to stick the two together. The stems may need a bitta slicing so that they're flat and can stand upright.


And voila, the mushroom meringues are done! They're actually super tasty, so try not to eat them all before you decorate, particularly if you love real mushrooms and sweet stuff like me! I then added some edible flowers (and maybe some non edible leaves) to give it that extra gardeny feel. 


Pretty nifty eh? 


Dainty Cook x


28 June, 2014

Peanutella Chip Cookies

Chocolate chip cookies made with crunchy peanut butter and somewhat subtle dollops of Nutella, which ultimately ballet on your tongue. 
They're THAT good.


I cannot tell you how much I adore peanut butter. I used to not like it once upon a time. In fact, I despised the very thing. Then came a time where anything found in a jar and could be consumed by a spoon was a huge hit as I started university. Spoonfuls of peanut butter whilst studying for my first year exams had become a ritual. That and having a packet of chocolate fingers to dip in a jar full. This is how we students do les examens!

Anyway, it's a known fact that peanut butter goes a bit too well with chocolate. I mean, forget yer peanut butter and jelly sandwiches, s'all about pb and Nutella!

And when I realised I could put the two together in my absolute fave biscuit - the cookie - I felt like a kitchen goddess. *Halo appears*

Here's how they were put together:


Ingredients:
225g unsalted butter (softish)
200g caster sugar (you can play around if you want it less sweet)
200g soft light brown sugar
2 eggs
1/2 tsp vanilla extract
240g crunchy peanut butter
40g nutella
340g plain flour
2 1/2 tsp bicarbonate of soda
1/2 tsp salt
85g dark chocolate chips (or chopped)

Method:
  • Preheat oven to 170C, Gas 3. Fan assisted ovens lower the temp by 10-20C and prepare baking trays with greaseproof/baking paper.
  • Using an electric mixer with the paddle or a handheld electric whisk, mix the butter and sugars together until they transform into a wonderful light and fluffy mixture.
  • One at a time, crack in the eggs and mix well. Be sure to scrape any unmixed ingredients from the side of the bowl!
  • Turn the mixer down to a slow speed and beat in the vanilla and peanut butter.
  • Gradually add the flour, bicarbonate of soda and salt and mix well until a smooth dough is formed. Then add the Nutella - this is actually optional and I only add a little to give it a subtle taste.
  • Sprinkle in the chocolate chips - I aways find this the best bit, I don't know why!
  • Scoop out equal amounts of the cookie dough on each tray using a tablespoon spoon or scooper. Make sure they're spread apart as they expand while baking.
  • Bake for roughly 10 minutes, or until they're golden brown around the edges and quite flat. They will be super soft in the middle but that's what you want. They tend to harden later anyway.
  • Cool  the cookies slightly on the trays before turning out onto a wire cooling rack to cool completely. The cookies should be nicely soft and chewy and a teeny crunchy on the outside. Mmmmm.

Seriously these literally melt in your mouth when you eat them fresh. I was so pleased with these, I genuinely wanted to marry myself. Yup. I mean being able to bake super soft mouth melting cookies!?! You need magical hands. Oh and maybe this recipe….


So have a go and let me know how it turns out! :)


Dainty cook x

25 June, 2014

Crème-to-the-Brûlée

Vanilla crème brûlée, with strawberry, white chocolate spoons and a smooth salted caramel disc - topped with crunchy honeycomb pieces. 

Mouth watering yet?


I can't deny that this is one of my ultimate fave desserts. The baked creamy goodness that instantly melts on your tongue, exposing its vanilla flavour as it begins to tango with your tastebuds. Oh but the best part, the fun part, cracking the burnt crunchy sugar with your spoon as you begin to dig in. The smooth and the crisp become an unbeatable fusion of textures.

And it's no wonder it's sort of named after these textures - crème brûlée - 'burnt cream' in French, is the most delicious yet simple of desserts to make and here's how I made it:

Ingredients:

For the vanilla crème brûlée:
440ml double cream
100ml full fat milk
55g caster sugar
1 vanilla pod/3tsp good quality vanilla extract
5 egg yolks

White Chocolate spoons:
200g white chocolate chips

(Smooth) Salted Caramel Disc:
80g salted butter
75g soft light brown sugar
75g caster sugar
120ml cream
1/2tsp sea salt
Honeycomb pieces (bought)

Method:
  • Combine the double cream, milk and vanilla extract (or a slit vanilla pod) into a saucepan and leave to the side.
  • Separate the yolks from the whites and place in a mixing bowl, adding the caster sugar. The separating is probably the only tricky part to this - well I find it a pain to be honest! Then whisk the yolks and sugar together until pale and slightly fluffy.
  • Bring the saucepan onto the heat until the sides begin to bubble a bit.
  • Gradually with a hand whisk, stir in the hot cream mix into the egg. You'll see it will foam up once done, try get rid of all the foam with a large spoon.
  • Pour into ramekins, jars or a big dish and place these in a ban marie filled with boiled water about 1.5-2cm high and pop it into the oven for 30-35 minutes.
  • You want the crème brûlée to be slightly wobbly in the middle and not completely set. Place these in the fridge and scatter teaspoon of caster sugar on the top surface and then blowtorch until its burnt! Do this closer to the serving time and pop 'em back in the fridge.
And that's pretty much it! For the additional extras and decoration:
To make the chocolate spoon:

  • Melt white chocolate in a bowl over simmering water (water bath) until runny and fill up the spoon moulds, placing them in the fridge.
The smooth salted caramel disc:
  • Melt the butter and sugars in a saucepan for 3 minutes or until dissolved, swirling it from time to time.
  • Add the cream and sea salt and swirl again - get those hips shaking! I mean, use a wooden spoon to stir the sugar mixture…
  • Once amalgamated, taste to check if there's enough salt and then pour into a jug to set!
This makes quite a bit, so you can store it up to a week to use for other nommy desserts. Or you know just to eat with a spoon instead of yer good ol' Ben and Jerry's!

Make a circle onto a serving plate, (I used a cookie cutter) and top with honeycomb pieces. Okay so, I had recently bought some ready made ones from Lakeland and used these, but if you want the homemade recipe check out my Get Loose: Chocolate and Honeycomb Mousse recipe!


That's about it! I added chocolate dots around each component to finish off, as well as a strawberry in each jar, as this creamy concotion goes well with berries and maybe there were some growing in my garden…


Cute little desserts, don't you think?


Dainty Cook x