10 July, 2014

The PannEgg (Easter inspired)


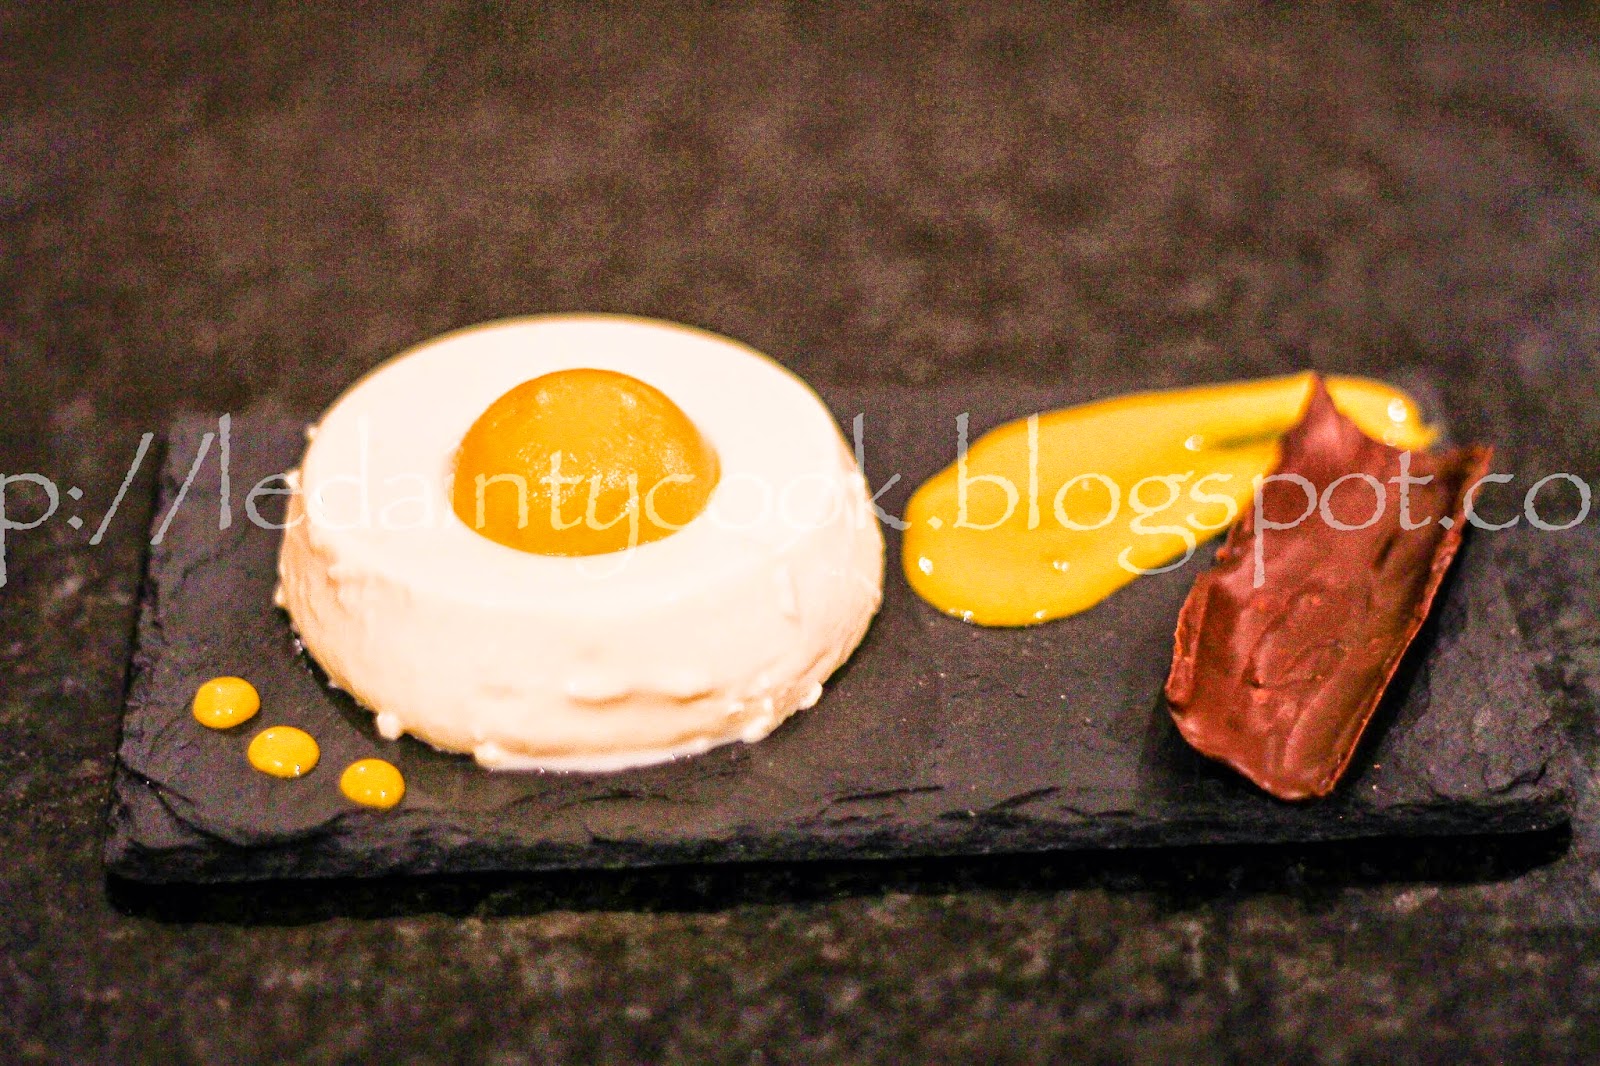
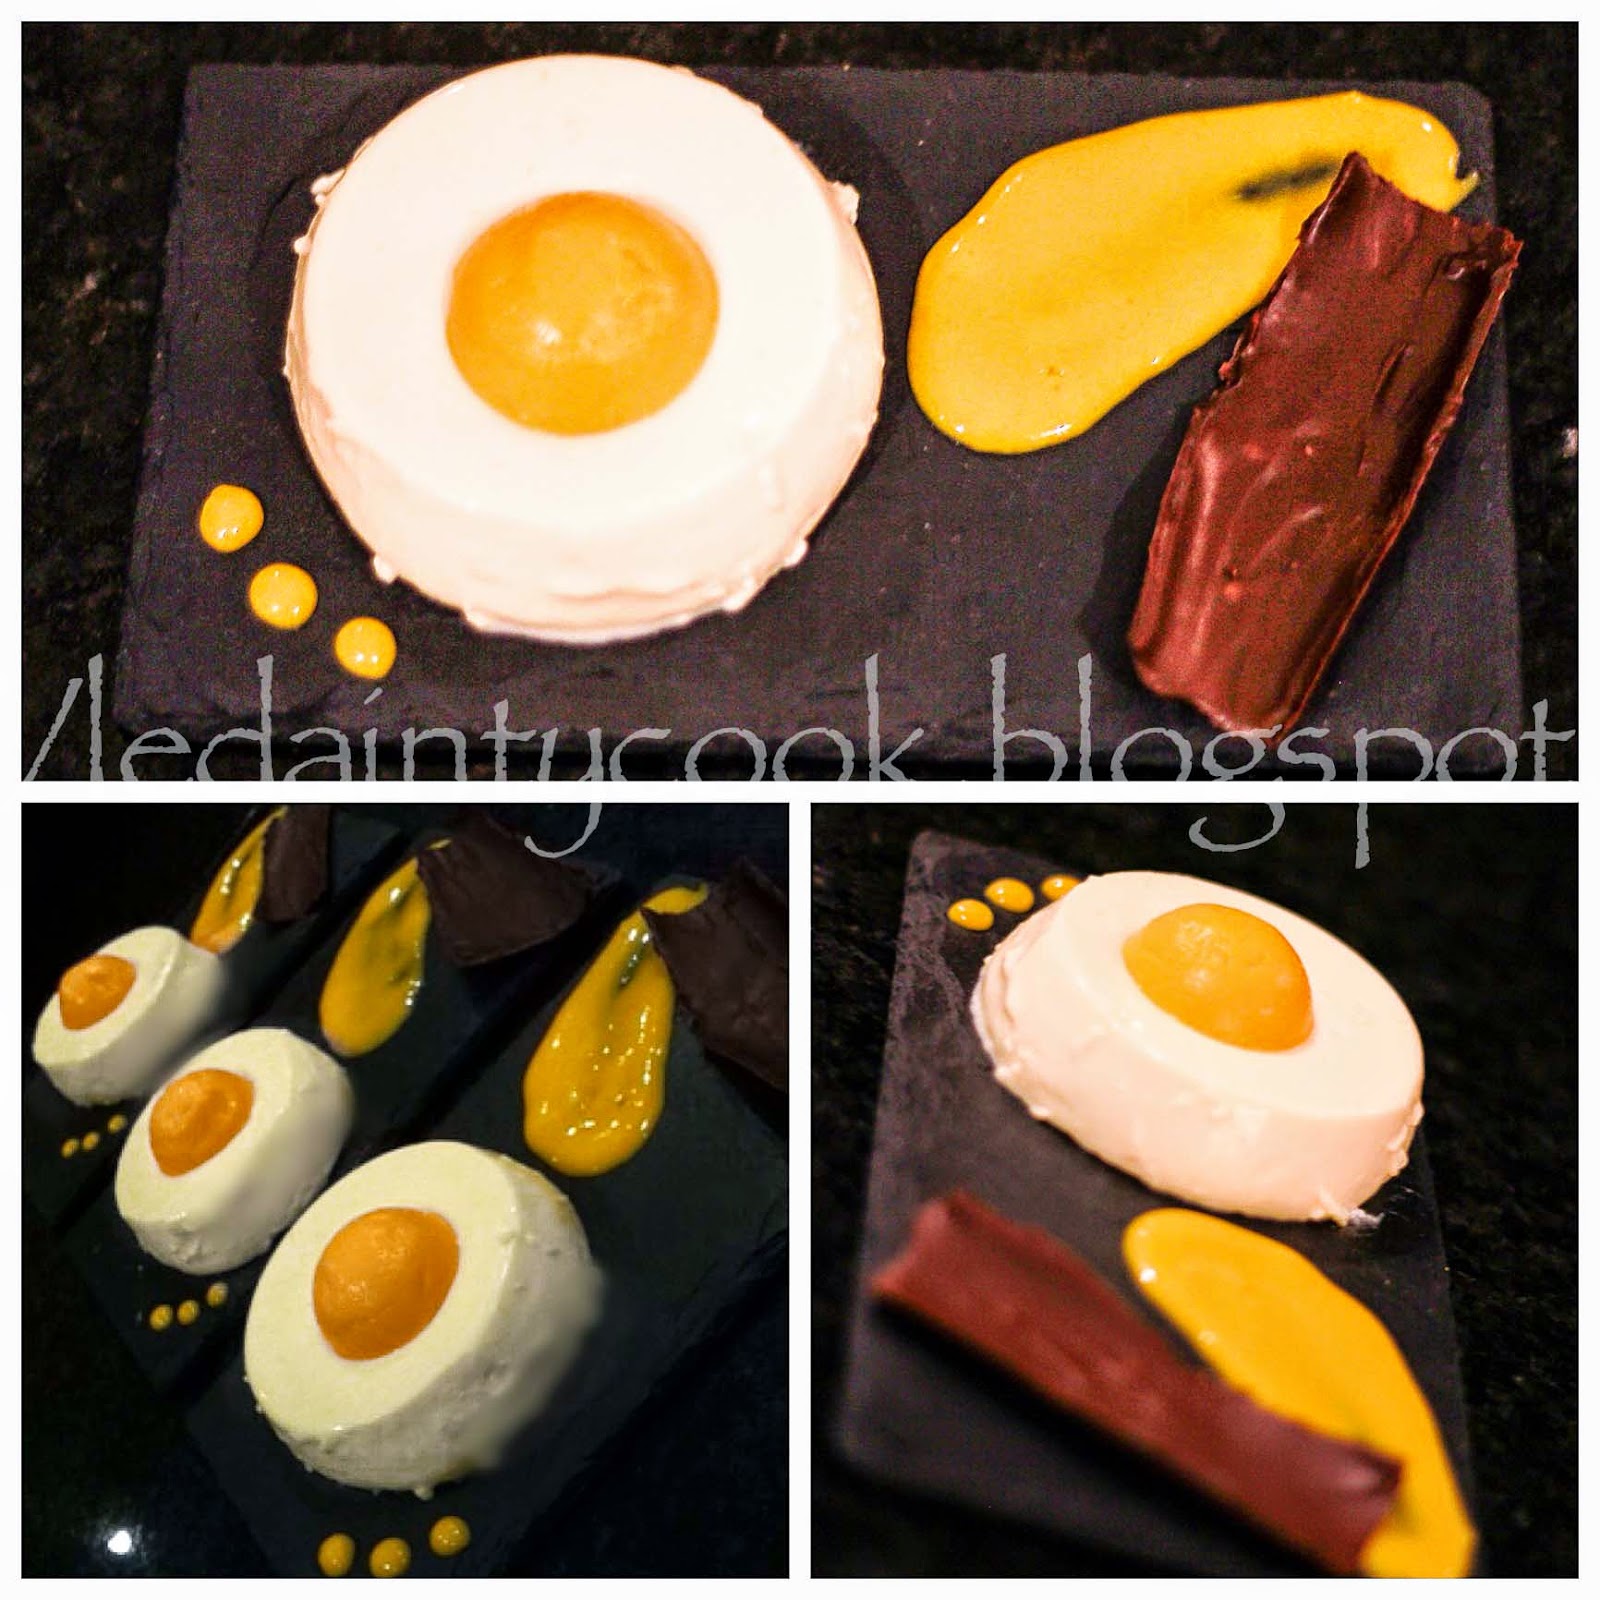
A vanilla panna cotta with a mango jelly bulb, mango gel sauce and a chocolate ganache shard, or soldier in this case.
 N-to-the-ommy!


Is it an egg? Is it a spoon? (I don't know about that one, k) No, why it's panna cotta of course.

As you can see this is a slightly late post, but hey, have a go next easter, or whenever really. It can really puzzle your friends!

I'd grown slightly tired of the chocolate eggs you get everywhere. I mean, let's face it, chocolate alone, is NOT dessert. It can be part of one, certainly, but I was on my tippy toes to make a sweet dish that resembled an egg and not entirely made of chocolate.
 Thus: the Pann-Egg was laid.


See what I did there?!
Let me just tell you how I made it ...

Ingredients:

Vanilla Panna cotta:
600ml double cream
160ml full fat milk
4tsp (halal) gelatine powder
180g caster sugar
4tsp vanilla extract

Mango jelly bulb:
250ml alphonso mango purée
1&1/2tsp gelatine powder
3 tbsps double cream

Chocolate ganache shard:
75g dark chocolate
25ml double cream

Method:
For the panna cotta:
Dissolve the gelatine powder into 125ml of hot water and stir quickly.
Combine the cream, milk, vanilla extract and sugar into a saucepan and bring to the boil, then reduce the heat.
Stir in the gelatine mixture and turn off the heat.
Pour the mixture into small ramekins or moulds, leave to cool then whack 'em all the fridge so that they set. It usually takes 4 hours and more to set properly.
To serve, dip the ramekin into hot water, slide the sides out with a knife and turn upside down onto a plate.

Mango bulbs:
For these I used the lids of the cake pop moulds to form the bulb.
Dissolve 1 - 1&1/2 tsps of gelatine powder into 60ml of hot water.
Mix the gelatine and puree together and then take out some tablespoons of the puree and set aside.
With the remaining mixture, add roughly 3 tablespoons of double cream and stir. Pour this into the cake pop moulds and refrigerate!
Onnce set (it will still be wobbly/soft so you need to use a spoon to scoop the bulbs out) plonk them on top of the panna cotta to form an egg!

Chocolate soldiers:
Cut out rectangles (7x3cm) of greaseproof paper.
Melt the chocolate, add in the cream and stir.
Paint the greaseproof paper with the ganache and leave to set in the fridge until firm. Once they're done all you do is peel them off carefully.


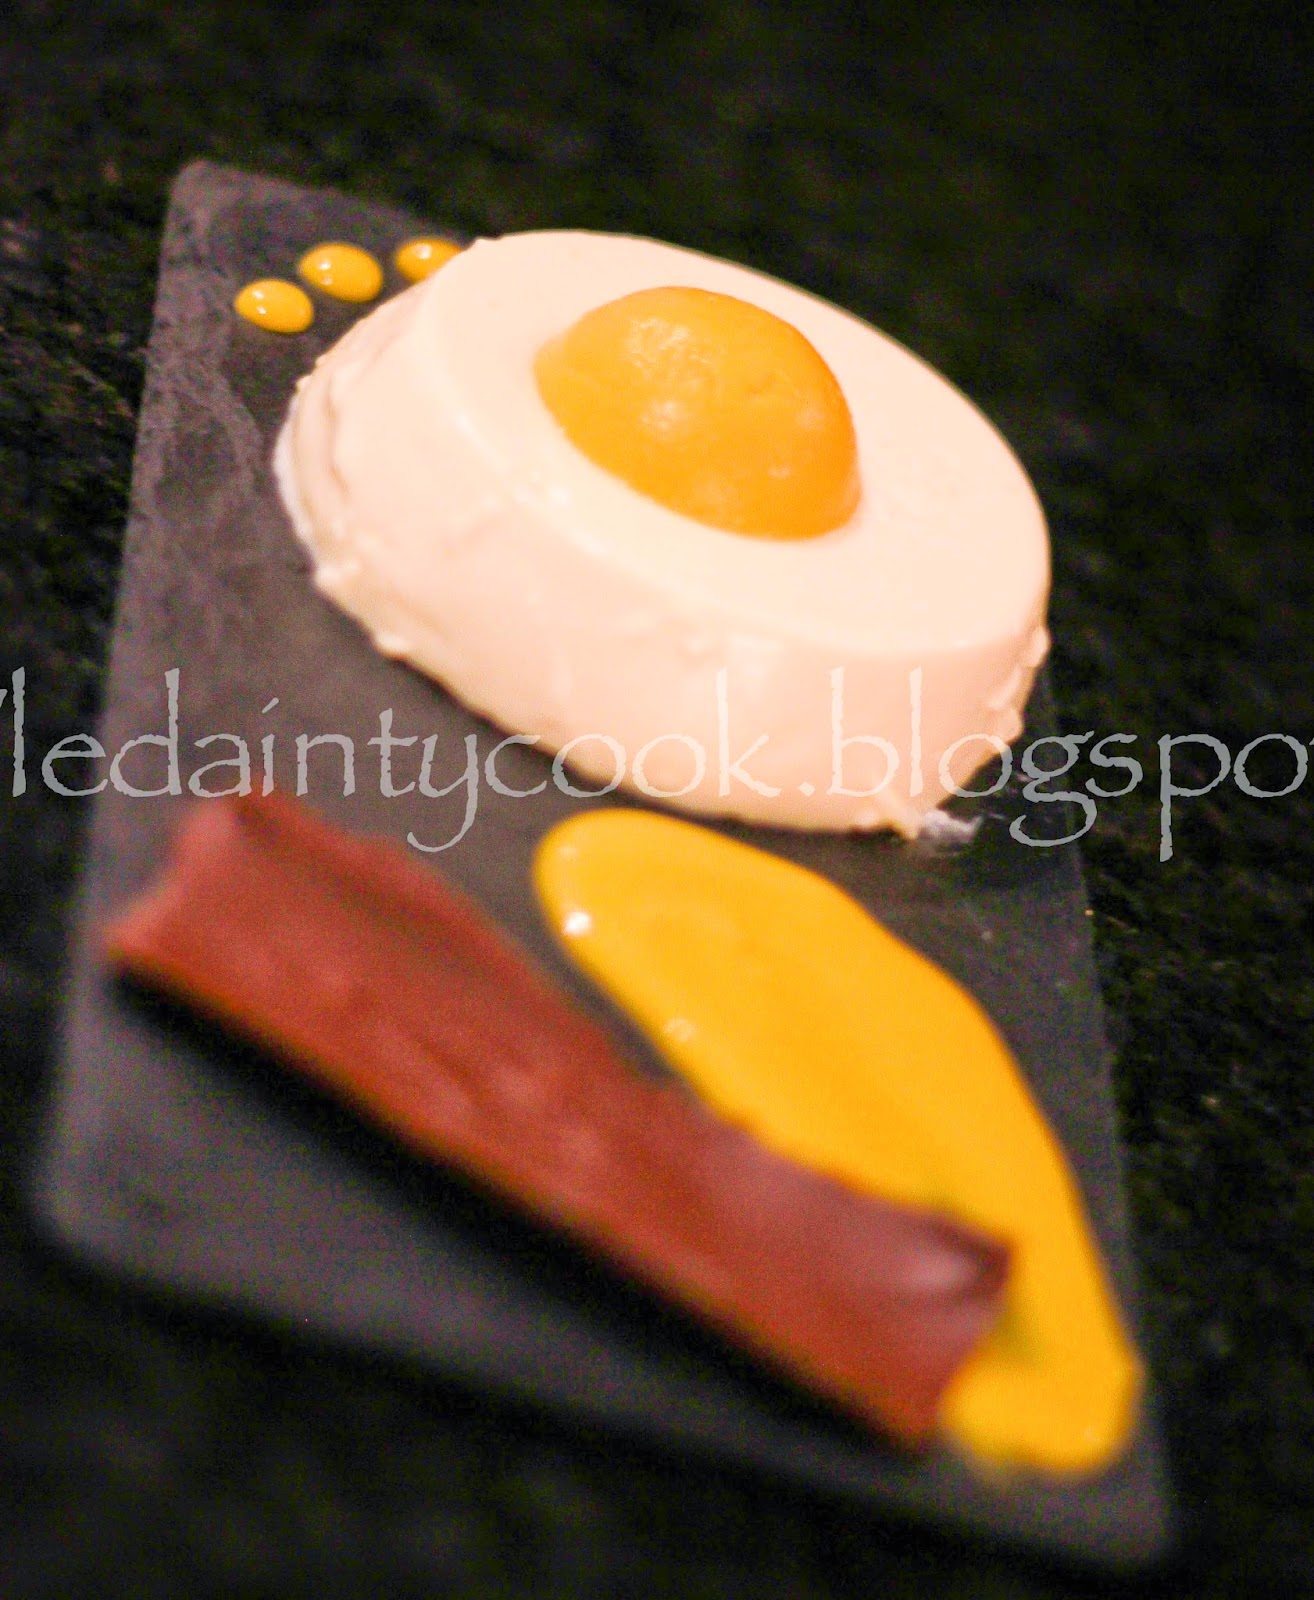
To serve, place it on plate with the panna cotta, use the remaining puree that was set a side as the sauce and ba boom. You've got you're a nice plate of a PanEgg.


It's amazing. No yolk ;)


Dainty Cook x


01 July, 2014

Mushroom 'Mould' Cake.


A dense dark chocolate truffle cake, filled with chocolate cream and ruby-red raspberries, you would have to be a right fool to not eat this peculiar beauty. 


Yes, you read that correctly. I have indeed posted a recipe stating how to make a 'mouldy' mushroom CAKE. This cake has definitely gone off the radar (ha, see what I did there - gone off - did you get it? You got it right?!) for simultaneously pertaining to be 'disgusting', indulgent and über cool. It takes vintage to it's literal meaning.

For me, this was a spontaneous sculpture that I was itching to do. If any of you know me, I have many cravings each hour/day/week. A friend of mine uttered the phrase 'chocolate cake' and there it was, BAM, fixed in my mind, transforming me into a beast until I appeased my appetite. So, I popped down to my local Sainsbury's, bought the ingredients and was ready to bake.

But there was una problema..

I did NOT want to bake a standard chocolate cake. Incase you've guessed already, I'm a huge fan of raspberries and chocolate. When they both marry together, they produce offspring in your mouth, bursting out full of this awesome indescribable flavour. So gooood. Anyway, weird and slightly poor analogy aside; I was as per, grown tedious of making the same old chocolate buttercream cake, topped with berries, coated with cigarellos - yawn - boringgg.

And then, I was truly inspired. I witnessed a photo: a page from Lily Vanilli's book which had meringue shaped mushrooms. *Light bulb moment*


Next thing I know, this ensemble was assembled.


Ingredients:

200g softened butter
200g caster sugar
200g self-raising flour
50g cocoa powder
4 medium eggs
Pinch of salt
Milk to loosen (optional)

Method:

  • Preheat the oven to 180 degrees C.
  • Combine the butter and sugar until pale and fluffy, usually this takes 5-7 mins. 
  • Add the eggs one at a time until well-combined.
  • Sift in the flour cocoa powder and add the salt.
  • Beat together until it forms a smoooooth mixture.
  • Dash in a tablespoon or two of milk if the mixture is super thick.
  • Dollop the mix in either two 8 inch sandwich pans or an 8 inch cake tin and bake for around 30 minutes.
  • Once baked let it cool on a wire wrack and place on a 12 inch cake board, ready to be filled and glazed.

The Filling:

150g dark chocolate (chopped)
25g unsalted butter
250ml double cream
Pinch of salt 
300g Raspberries

  • Place the butter and chocolate in a bowl.
  • Heat the cream until hot and pour into the chocolate, stirring it together until it melts and is well combined.
  • Once cooled, fill the top of one layer with this and top evenly with fresh raspberries, placing the other layer on top.

The Truffle Glaze:

250g dark chocolate
15g unsalted butter
200ml double cream
Cocoa powder to dust

  • Follow the same steps as with the filling.
  • Spoon the glaze over the whole cake and let it set - but not completely.
  • Dust the whole cake with cocoa powder so that it looks like soil.
  • Decorate with the meringue mushrooms, by sticking them into the cake and also around: make it look like its going off and growing mushroom mould! You can even break pieces off of the cake so that they look like rocks.

The Meringue Mushrooms:

5 egg whites
1 tsp lemon juice
Pinch of salt
230g caster sugar
30g cocoa powder
100g chocolate

  • Add lemon juice and salt to the get whites and whip until soft peaks are formed. Beat in the sugar slowly, a few tablespoons at a time, continuing until they get all stiff. Half the egg white mix, spooning the other half into another bowl. Fold in two-thirds of the cocoa powder in one half and the remaining in the other.
  • Fill a piping bag with the beaten egg whites and using a round top, pipe mushroom stems - making sure they are long and wide enough to be stable.
  • Pipe the same number of domes - these will be the tops of the shroomies!
  • Bake them for about an hour and leave them in the oven so that they dry - another hour or so for this I'd say.
  • To attach the tops to the stems, melt the chocolate and use this to stick the two together. The stems may need a bitta slicing so that they're flat and can stand upright.


And voila, the mushroom meringues are done! They're actually super tasty, so try not to eat them all before you decorate, particularly if you love real mushrooms and sweet stuff like me! I then added some edible flowers (and maybe some non edible leaves) to give it that extra gardeny feel. 


Pretty nifty eh? 


Dainty Cook x